Sciatica self-regulation with Alexander Technique.
Sciatica self-regulation with Alexander Technique.
Alexander lessons can assist you to manage sciatica.
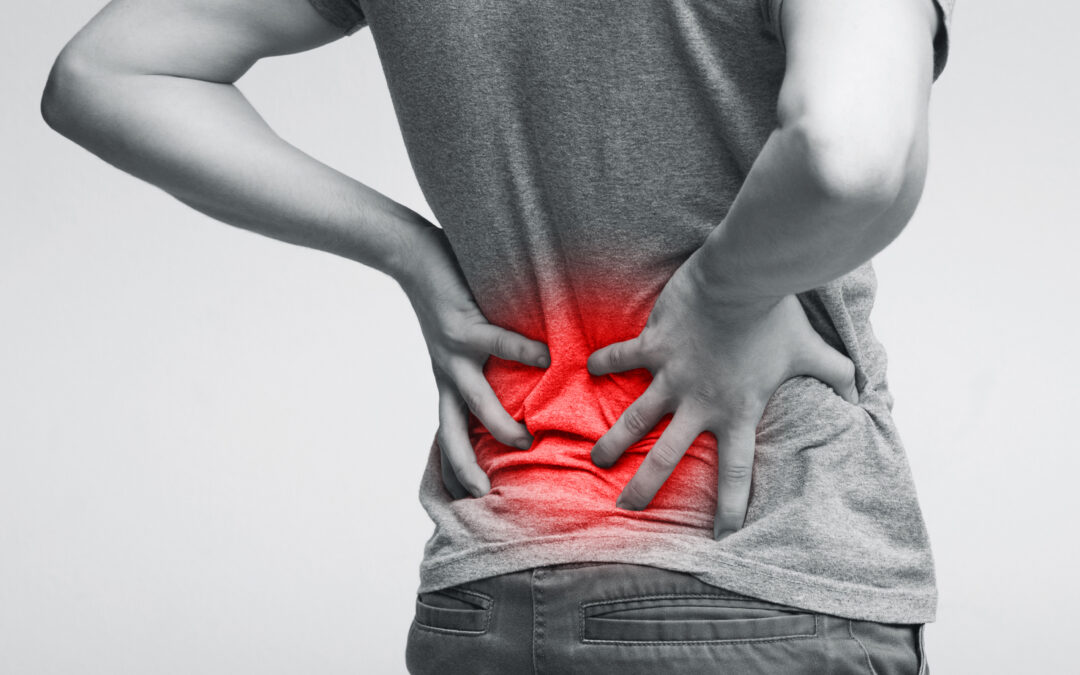
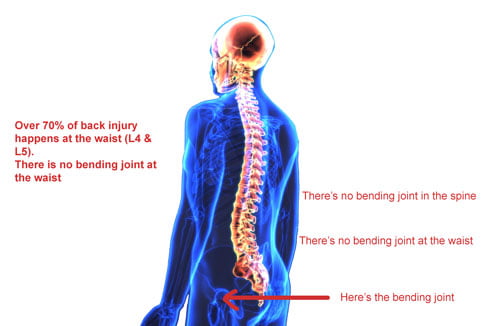
Sciatic pain happens when inappropriate pressure comes onto the sciatic nerve. The causes can vary but anyone who experiences it knows that sciatica is painful and debilitating.
It’s important to consult with a medical practitioner. This is more urgent if you lose continence. Unfortunately, the treatments available for sciatic pain may not present the kind of quick remedy that most would like.
Alexander Technique can often be helpful where poor posture and movement are exacerbating an injury and preventing it from healing.
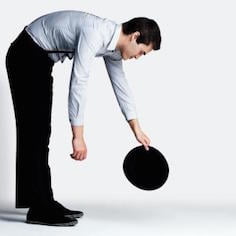
Alexander Technique skills [such as the ability to redistribute body weight, release over tense muscle, re-align twisted bones and muscles and discern what is a helpful movement and what is an injurious movement] can help a lot.
Studies have shown that Alexander Technique is helpful for people with chronic back and chronic neck pain conditions. Click here to read one well known study.
Thinking about your movement gives you the opportunity to find many easier ways of doing things.
Self-regulation and resilience
Alexander self-regulation provides the possibility of less drug interventions, less time in pain. Alexander teaches you to harness your body awareness. By having lessons with a properly qualified teacher, you can develop great body management skills and these can significantly help with sciatica and low back pain conditions..
The video below will give you an idea of what’s involved.
By learning specific information about your body, its movement and posture you can prevent movements that irritate the sciatic nerve and the other lower back structures that are involved in low back pain.
The illustration above shows a schema of how people learn the Alexander Technique. Self-regulation through awareness is the outcome. Your teacher will assist you to become aware of those patterns that are obstructing your body’s self-organisation. You will be encouraged to experiment with new thoughtful strategies. As you progress, you will begin to understand how you can develop ease throughout your daily movement. Finally, you will be able to choose how to move in life, within any activity, easily by allowing your body to self-organise in the most effective and efficient way.

-

Alexander Technique and Posture
Achieve Better Posture with the Alexander Technique Who wouldn't like great posture? After all posture reflects who we are, our mood, our...
-

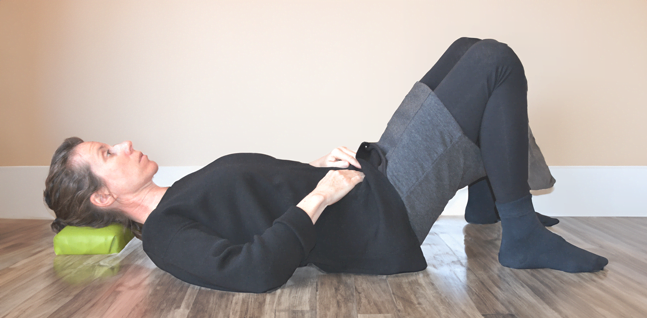
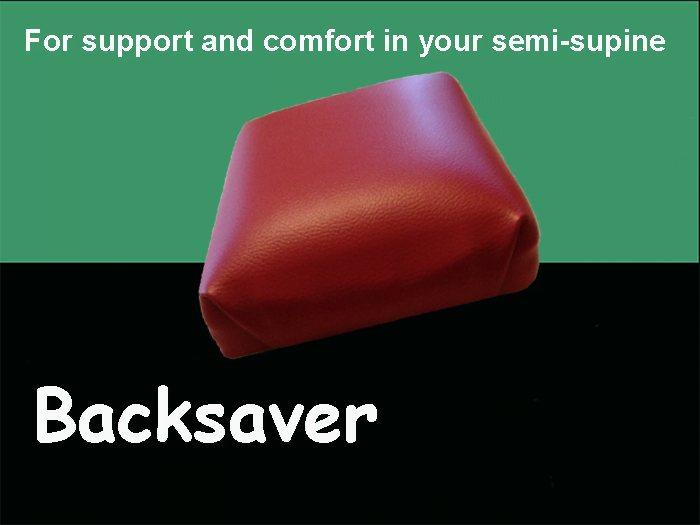
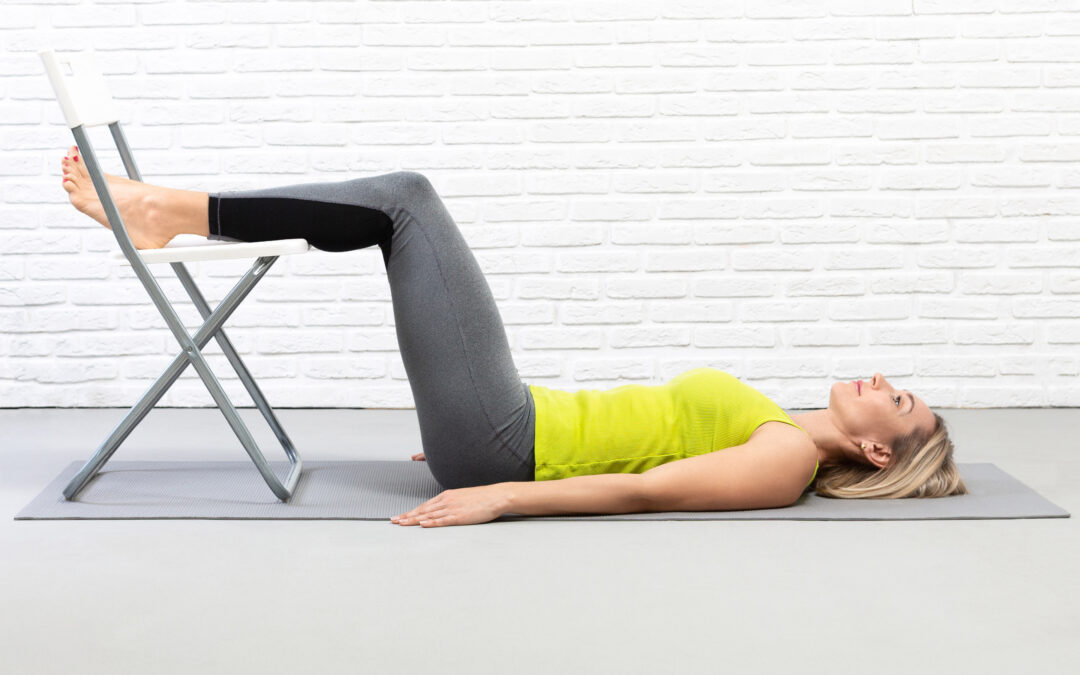
Backsaver | use a Backsaver cushion for a comfortable semi-supine
The semi-supine is a procedure that is recommended by Alexander Technique teachers around the world. It involves lying on a firm surface, having the...
-

Chronic Pain-using Alexander Technique to manage pain conditions
Alexander Technique for chronic pain The Alexander Technique is an educational method, not a health-care intervention. Alexander teachers do not...
-

Best self-improvement-Constructive Conscious Control of the Individual
The best self-improvement for your well-being is Constructive Conscious Control In the realm of self-improvement and personal growth, one concept...
-

Alexander Technique and breathing
The Alexander Technique presents a holistic approach for improving posture, movement, and overall well-being. Developed by F.M. Alexander in the...
-

Manage your herniated disc
It’s called a “slipped disc”, a ‘bulging disc” or a “herniated disc”. It means pretty much the same...


Recent Comments